Pages

Saturday, December 18, 2010

Recipes- Margie's Eggs: Our Family Tradition

This is a tradition in our household that we have on Christmas morning (because it can be put together ahead of time), and it is good for brunches. We got it from my Aunt Margie but don't know where she got it from. 
At our house, we are dragged out of bed Christmas morning by our kids, open our stockings, eat breakfast, and then we take as long as we can opening our presents. So while the dish is cooking, it's a good time to take a shower (most important unless you want to look cruddy in present pics haha). 
My sister Laura does a million variations on Margie's Eggs so there's no way to make it "wrong". Go ahead and change the cheese, put frozen hash browns on the bottom, toss in real bacon bits, etc... Another great thing is that this is one of those egg recipes that actually taste good re-heated later for all day grazing. Thank you Aunt Margie- you've become a legend!


MARGIE'S EGGS

10 eggs

1/2 cup melted butter (* we skipped this step this year on accident and it still tasted good)

1/2 cup flour

1 tsp baking powder

4 oz (or bigger) can of chopped green chilies (* optional- my mom Karen sometimes tosses them on just 1/2)

1 pint of cottage cheese

1 lb of cheddar cheese shredded

Toppings: S&P to taste, salsa (* we prefer mango) or sour cream.

Mix all together and put into a 10x13 greased pan (at this time, you can put into the fridge over night). 
Bake in a pre-heated oven at 400 degrees for TEN minutes and then reduce to 350 degrees for 35 minutes or until toothpick comes out kinda clean (don't over cook). 
Cut into squares and serve with topping options.

Thursday, December 16, 2010

Christmas- Poker Night Bacon Cheddar Pinwheels

I think the email invite for my husband's December Poker said something to the equivalent that it was a MAN'S night so there would be NO dressing up, NO gift giving and NO cookie exchange LOL.  BUT, we still had to make an appetizer so since I had a Bunco Night the day before (click HERE to see the post), we bought double the ingredients to make the same recipe.  From the Pillsbury Website, this looked very simple with a lot of stuff I had on hand.
Bite sized pieces at my Bunco Night
Bacon-Cheddar Pinwheels


1 8oz can of Pillsbury refrigerated crescent dinner rolls OR 1 can Pillsbury Crescent Recipe Creations refrigerated seamless dough sheet
2 TBS Ranch Dressing
1/4 cup cooked real bacon pieces or 4 slices of bacon, crisply cooked, crumbled
1/2 cup finely shredded cheddar cheese (2 oz)
1/4 cup chopped green onions (4 med).  Hubby doesn't like these so we used finely chopped green peppers instead


  • Heat oven to 350°F.
  • If using crescent rolls: Unroll dough; separate into 2 long rectangles. Press each into 12x4-inch rectangle, firmly pressing perforations to seal. If using dough sheet: Unroll dough; cut lengthwise into 2 long rectangles. Press each into 12x4-inch rectangle.
  • Spread dressing over each rectangle to edges. Sprinkle each with bacon, Cheddar cheese and onions (in our case, we used green peppers)
  • NEXT TIME:  We'll chop bacon smaller and put more in corners
    Starting with one short side, roll up each rectangle; press edge to seal. With serrated knife, cut each roll into 8 slices; place cut side down on ungreased cookie sheet (we saw a tip online that said after you roll it up and before cutting, put into the freezer for about 1/2 an hour).
  • Bake 12 to 17 minutes or until edges are deep golden brown. Immediately remove from cookie sheet. Serve warm.
    This is how my hubby took them to Poker.  They weren't "pretty" enough for me for my Bunco Night so we cut them into bite-sized-fourths (see top photo).


Wednesday, December 15, 2010

Christmas- Simple Wreath Making...it's not too late!


Every year I buy wreaths from my friend Carolyn but this year she wasn't selling them so she asked if The Hungry Housewives would like to come over to make their own.  So -OF COURSE- my 5yr old who has only been sick twice in his life ended up with a 103* temperature, so I wasn't able to go {sniff}.  BUT, some of the other gals still went and were kind enough to bring me back a wreath!  


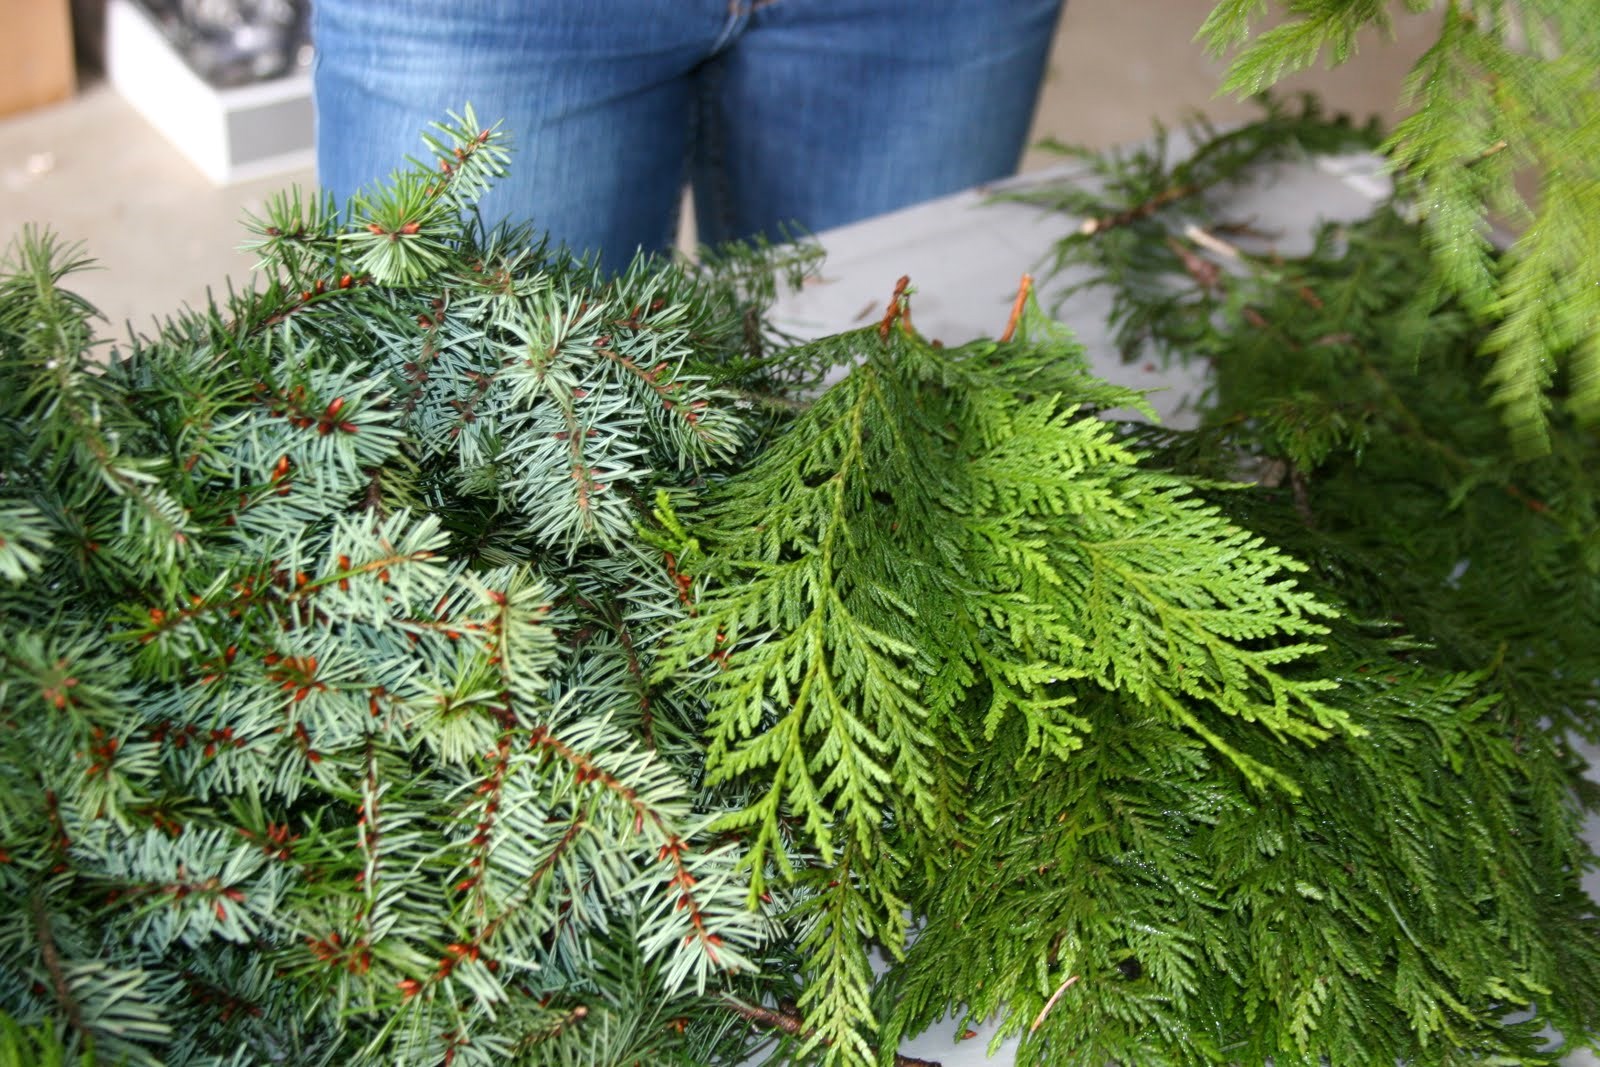
SUPPLIES:  You're going to need a frame which can be found at any craft store (remember- the bigger the frame, the more work!), floral wire, gloves, decorations like a ribbon, bells, etc, and greenery.  Depending on where you live, this could be as easy as just looking around the side of the road!  In my case, my lovely hubby cut pieces from our holly berry tree, we kept the lower branches from our Christmas Tree, and then we popped into the local tree farm and purchased bough strands which was just $1 a foot.  Carolyn said that you would need about a garbage bag full for one wreath.
Carolyn suggested cutting the greenery into 4-6" pieces and bunching them together to make a fluffier look. Once that was done, bind them together with floral wire, wrapping tightly, then with more wire, binding them to the frame. Clip any excess wire. Repeat the process, overlapping your bundles so that you're covering the previous bundle wire. 
As you go along, step back to see the whole picture to help you see where you might want to fill in more, or add holly, decorative balls, etc. Once you feel like the greenery is full enough, add a bow and other decorations if you want (Carolyn wired Christmas balls together by themselves to add to the wreath).


My friend Dawn said hers was not as detailed since they were a little pushed for time, and it was her first attempt. She chose to bunch longer pieces, which made for a less fluffy look (which is totally fine since every one is original so you can make it your own).  She did say that if she had the chance to do it again, she'd allow for more time and would make it fuller since she noticed once it was hung up, the gravity kinda pulled the greenery down, exposing a little of the frame (taking time to adequately fill the form would keep this from happening).  She also said this was a great learning experience, really fun, and she can't wait to do it again next year!


When you're all finished, you can hang it with a nail, an over-the-door wreath holder or a free standing holder (see what frames are on on photo at top).


Thank you to Hungry Housewife Dani for taking the pics and to Carolyn for offering your home and expertise so that we can play!