Christmas- Simple Wreath Making...it's not too late!

Every year I buy wreaths from my friend Carolyn but this year she wasn't selling them so she asked if The Hungry Housewives would like to come over to make their own. So -OF COURSE- my 5yr old who has only been sick twice in his life ended up with a 103* temperature, so I wasn't able to go {sniff}. BUT, some of the other gals still went and were kind enough to bring me back a wreath!
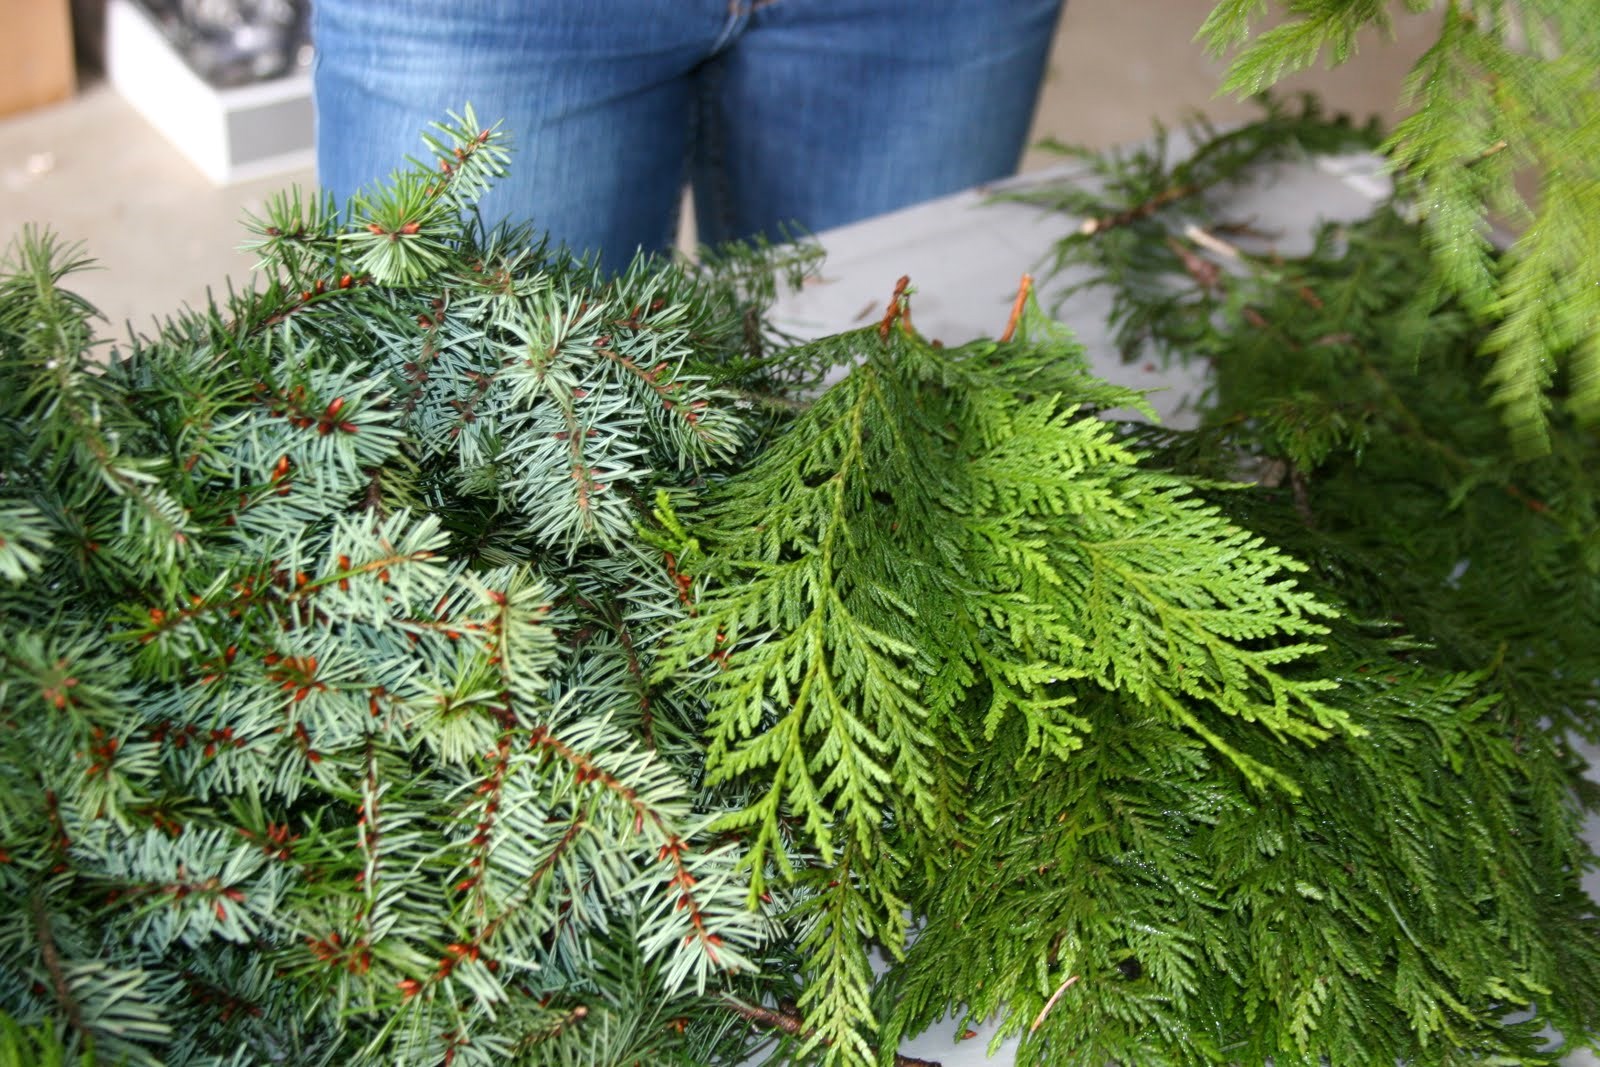
SUPPLIES: You're going to need a frame which can be found at any craft store (remember- the bigger the frame, the more work!), floral wire, gloves, decorations like a ribbon, bells, etc, and greenery. Depending on where you live, this could be as easy as just looking around the side of the road! In my case, my lovely hubby cut pieces from our holly berry tree, we kept the lower branches from our Christmas Tree, and then we popped into the local tree farm and purchased bough strands which was just $1 a foot. Carolyn said that you would need about a garbage bag full for one wreath.
Carolyn suggested cutting the greenery into 4-6" pieces and bunching them together to make a fluffier look. Once that was done, bind them together with floral wire, wrapping tightly, then with more wire, binding them to the frame. Clip any excess wire. Repeat the process, overlapping your bundles so that you're covering the previous bundle wire.
As you go along, step back to see the whole picture to help you see where you might want to fill in more, or add holly, decorative balls, etc. Once you feel like the greenery is full enough, add a bow and other decorations if you want (Carolyn wired Christmas balls together by themselves to add to the wreath).
My friend Dawn said hers was not as detailed since they were a little pushed for time, and it was her first attempt. She chose to bunch longer pieces, which made for a less fluffy look (which is totally fine since every one is original so you can make it your own). She did say that if she had the chance to do it again, she'd allow for more time and would make it fuller since she noticed once it was hung up, the gravity kinda pulled the greenery down, exposing a little of the frame (taking time to adequately fill the form would keep this from happening). She also said this was a great learning experience, really fun, and she can't wait to do it again next year!
When you're all finished, you can hang it with a nail, an over-the-door wreath holder or a free standing holder (see what frames are on on photo at top).
Thank you to Hungry Housewife Dani for taking the pics and to Carolyn for offering your home and expertise so that we can play!


No comments:
Post a Comment